Become Bronzed like Blair, Without Aging a Day!
Posted by
Blair Myers
Blair Myers
SHARE:
Do you yearn for a deep summer glow but worry about the harmful damage the summer sun can do to your skin? Join the club! ;) Obviously, I am a huge fan of all things health and beauty related, but I also long for a tanned fit body. As we all know, UV rays in tanning beds as well as the warm summer sun can create lasting damage both superficially and deeply in the form of skin cancer. UV Tanning causes the skin to lose elasticity and wrinkle prematurely. This leathery look may not show up until many years after you’ve had a tan or sunburn. My plan is to age in reverse and UV exposure certainly isn’t going to help me accomplish that goal! So what’s a wanna be bronzed God (or Goddess) to do? Read on my faithful Blair beauty followers…
If you want a gorgeous tan without worrying about sun damage, leave UV rays out of the equation and use a self-tanner (a.k.a sunless tanner). You've probably heard horror stories of bad self-tanning jobs that include streaks, orange hands, and dark creases, but these problems can be avoided if you prep your skin correctly and apply the tanning formula with care. I’ve mastered this over time and I’m ready and willing to share all my knowledge with you. See my step by step tips below:
Part 1 of 2: Preparation
Step 1: Choose the perfect self-tanner. My personal favorite tanning products are:
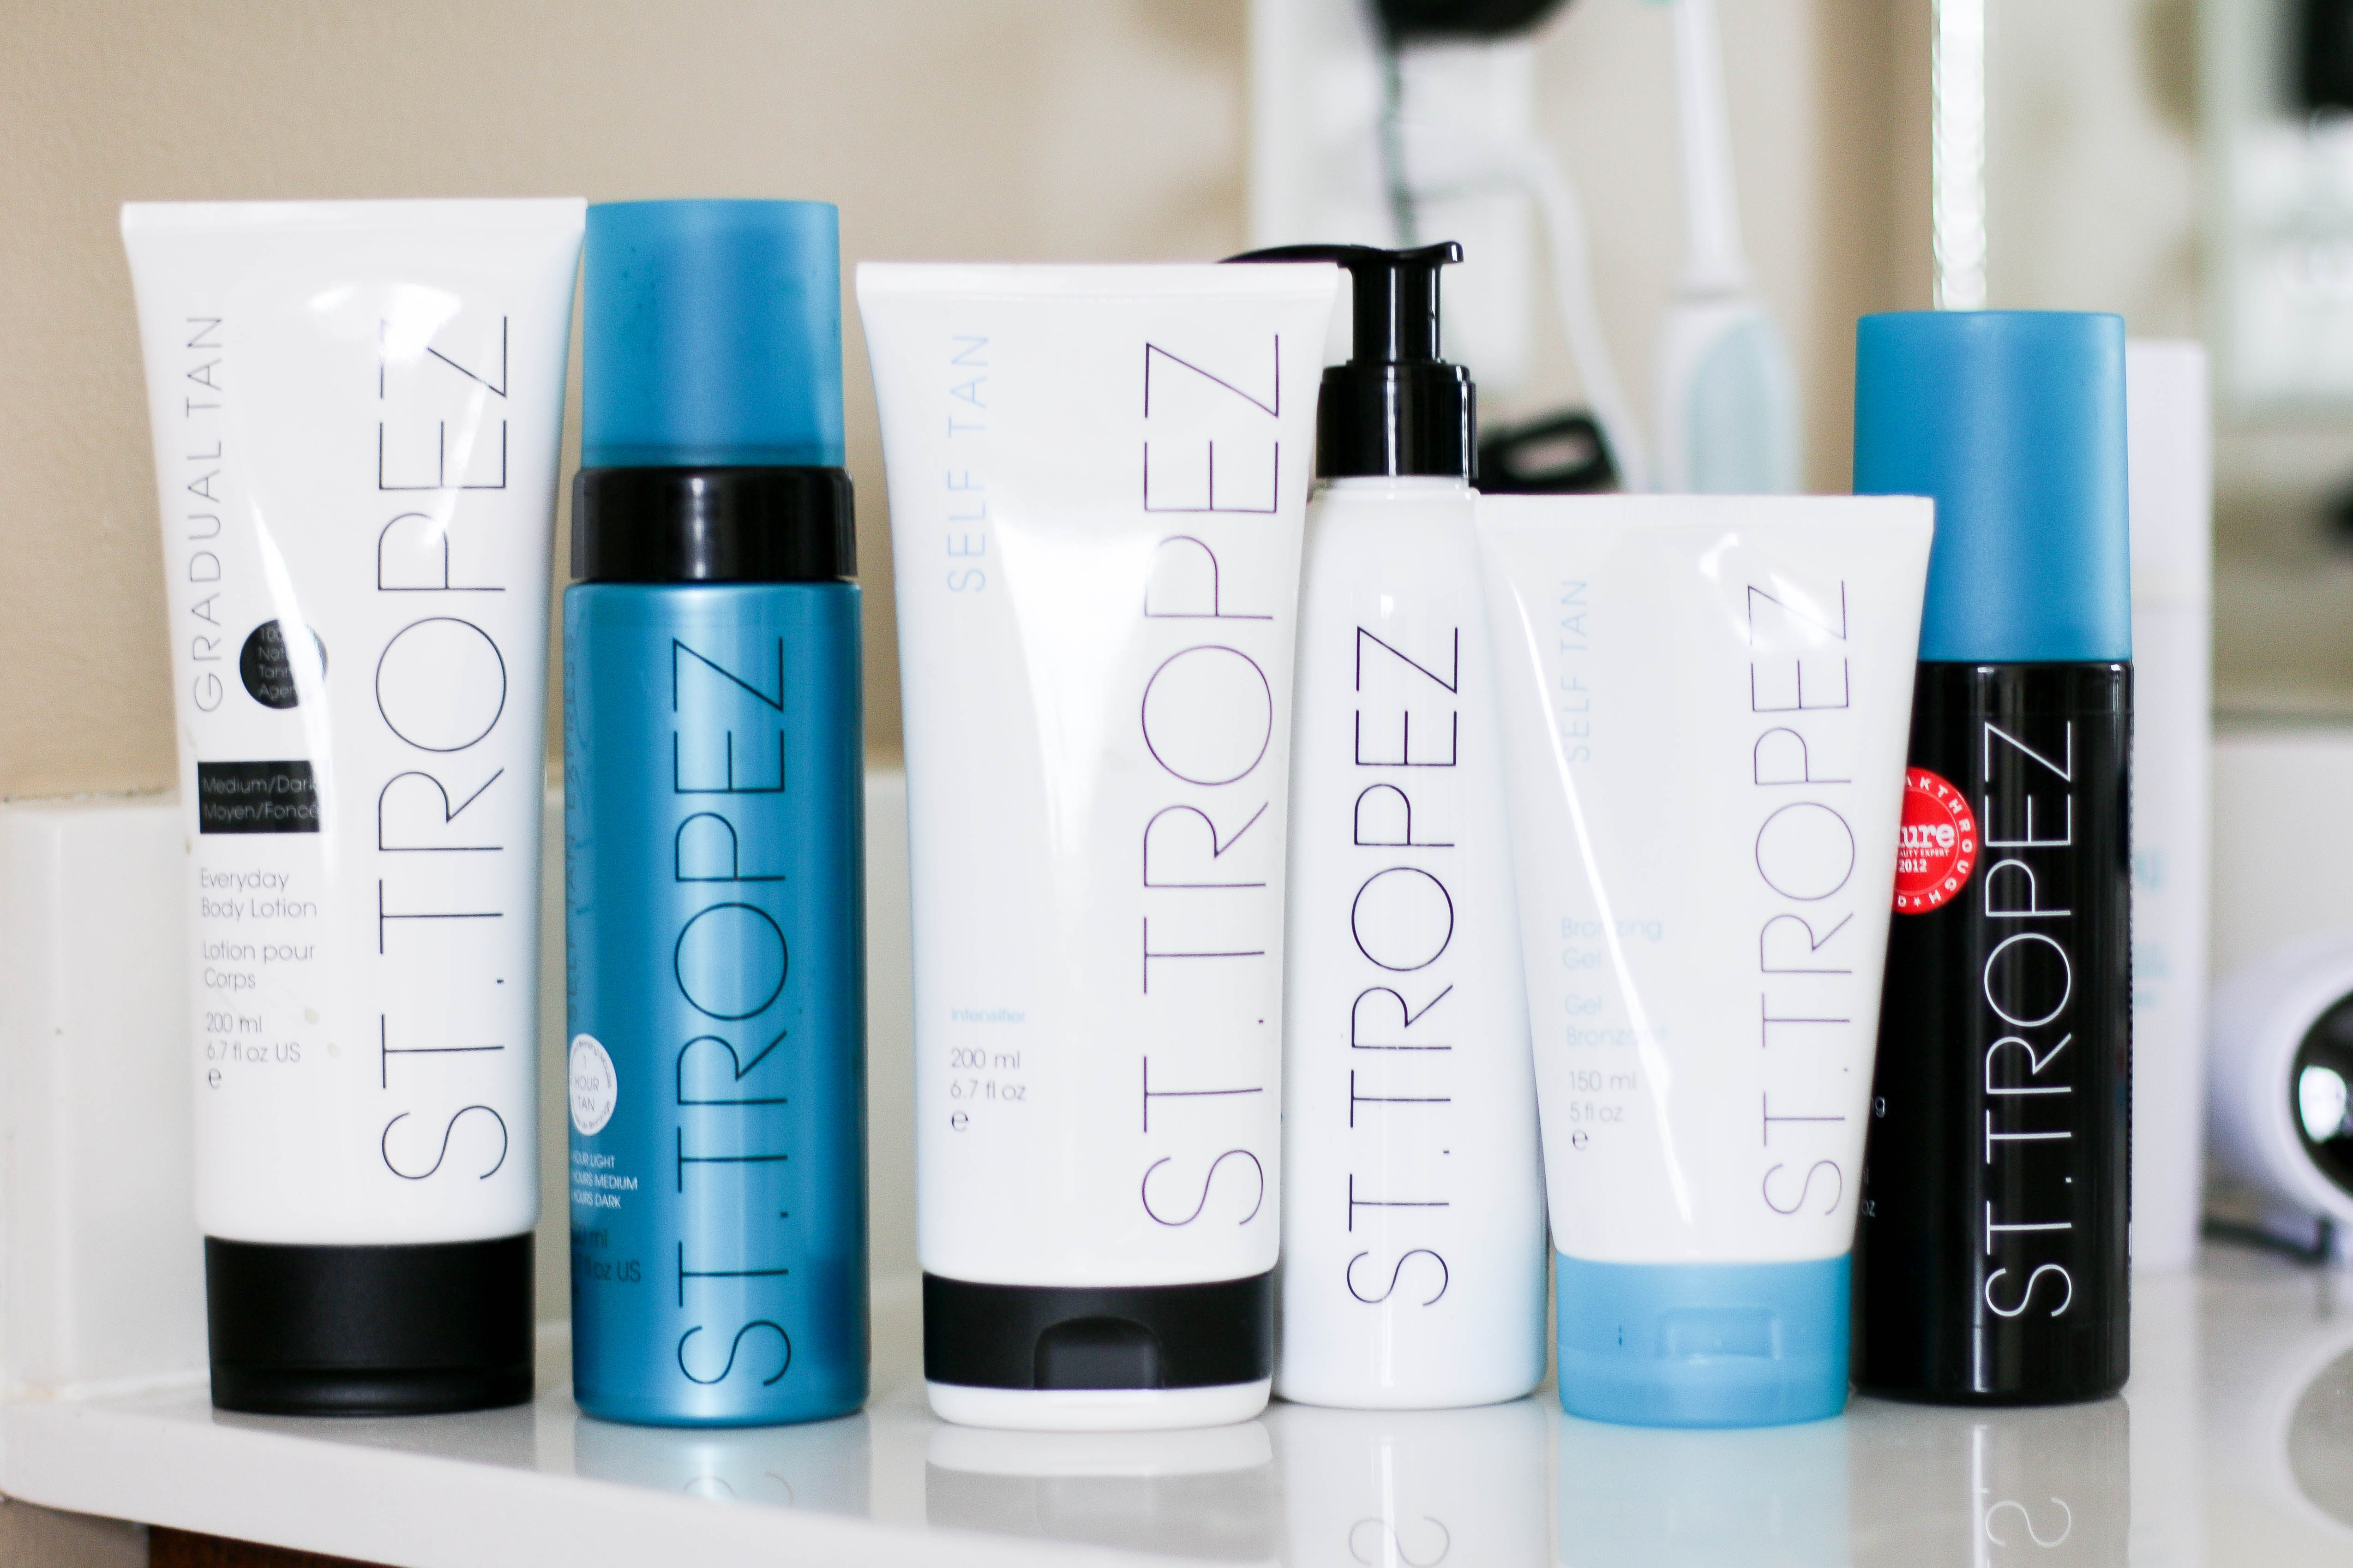

St. Tropez is sought after and considered one of the best by many professionals, but I also like Xen-Tan which is another great product for lasting, deep color. They’re both expensive though so if you’re looking for more budget friendly sunless tanning products, Ulta’s store line “Bronze Glow” offers major bronzing bang for the buck.

Step 2: Exfoliate your skin (refer back to my past blog entry; “Blair's Beauty Basics: Tip #2- Exfoliate”) Many of the sunless tanning lines offer their own exfoliation products, but one of my faves for sunless tanning prep or not is DermaDoctor brand KP Duty Scrub.
Step 3: Pat dry after getting out of shower. Be sure to remove any excess water on your skin.
Step 4: Apply your favorite moisturizer to your knees, elbows, or any area that tends to be drier and will absorb more of the tanning product. My favorite moisturizer is Peter Thomas Roth Mega Rich Body Lotion.
Part 2 of 2: Application
Step 1: Place gloves on your hands to avoid tanning your palms. Or, if you use St. Tropez self-tanner they have their own tanning mitt that I absolutely love. Some people first put on a glove to prevent potential bleed through of tanning formula, then the mitt, but I’ve never had any problems simply using the mitt alone. Again, if you’re on a budget, Ulta’s store brand mitt is just about as good as the St. Tropez version. You can wash it with warm soapy water and air dry between your applications.

Step 2: Apply the self-tanner all over your body. I prefer to start with my lower legs and work up to my neck. You must apply a generous amount onto your hands (mitt) and rub into your skin in a circular motion in order to evenly distribute so that you steer clear from splotches and streaks! Using the mitt REALLY helps with avoiding streaks and splotches as well.
Step 3: Blend at your joints! Using moisturizer in these areas before applying the sunless tanner onto your skin will help them look more natural, but if you have excessively dry skin or this skin naturally absorbs more of the tanning product you may want to further blend the tanning product with your moisturizer around the ankles, wrists, knees and elbows. This can result in a lighter, more natural-looking application around these areas. Any type of regular moisturizer works well, although I do love the PTR product mentioned above.
Step 4: Apply the self-tanner to your face and neck. I urge you to use a sparing amount on your face and neck because that skin will darken easily. If you’re like me, you surely can’t stand to see a face and neck color not match up! Start by applying it to the places where you naturally tan: your forehead, the apples of your cheeks, your chin, and the bridge of your nose. Use a steady circular motion and smooth the tanning product outward to cover the rest of your face.
Step 5: The last areas I move to are the backs of my hands and feet. I will take a face mitt (much smaller than the body mitt in picture above and, again, Ulta sells a really good one) then apply the tanning product to the smaller mitt and lightly blend over tops of hands and feet. If I’m aiming for a deep, dark color result (and I am well aware my natural complexion resembles Casper the White Ghost) I will blend the tanner onto the sides and tops of my fingers with a light motion to blend it out a bit lighter in the outer extremities which looks more natural. If I’m going for a lighter glow, then I will simply blend out to just before my knuckles and not go further.

Step 5: Now, wait! I strongly advise you to wait until your skin is dry to the touch before putting on any sort of clothing. Dark clothing is best as it’s not as likely to show any residual tanning product that may transfer. The last thing you want is for your clothes to become stained by the self-tanner or for your tan to become streaky or splotchy.
Depending on the depth of color I’m aiming for, I will apply a base coat first day, then re-apply however many successive days to achieve the depth of color I desire. At minimum you’ll want to maintain a light glow by repeating this self-tanning routine on a weekly basis.
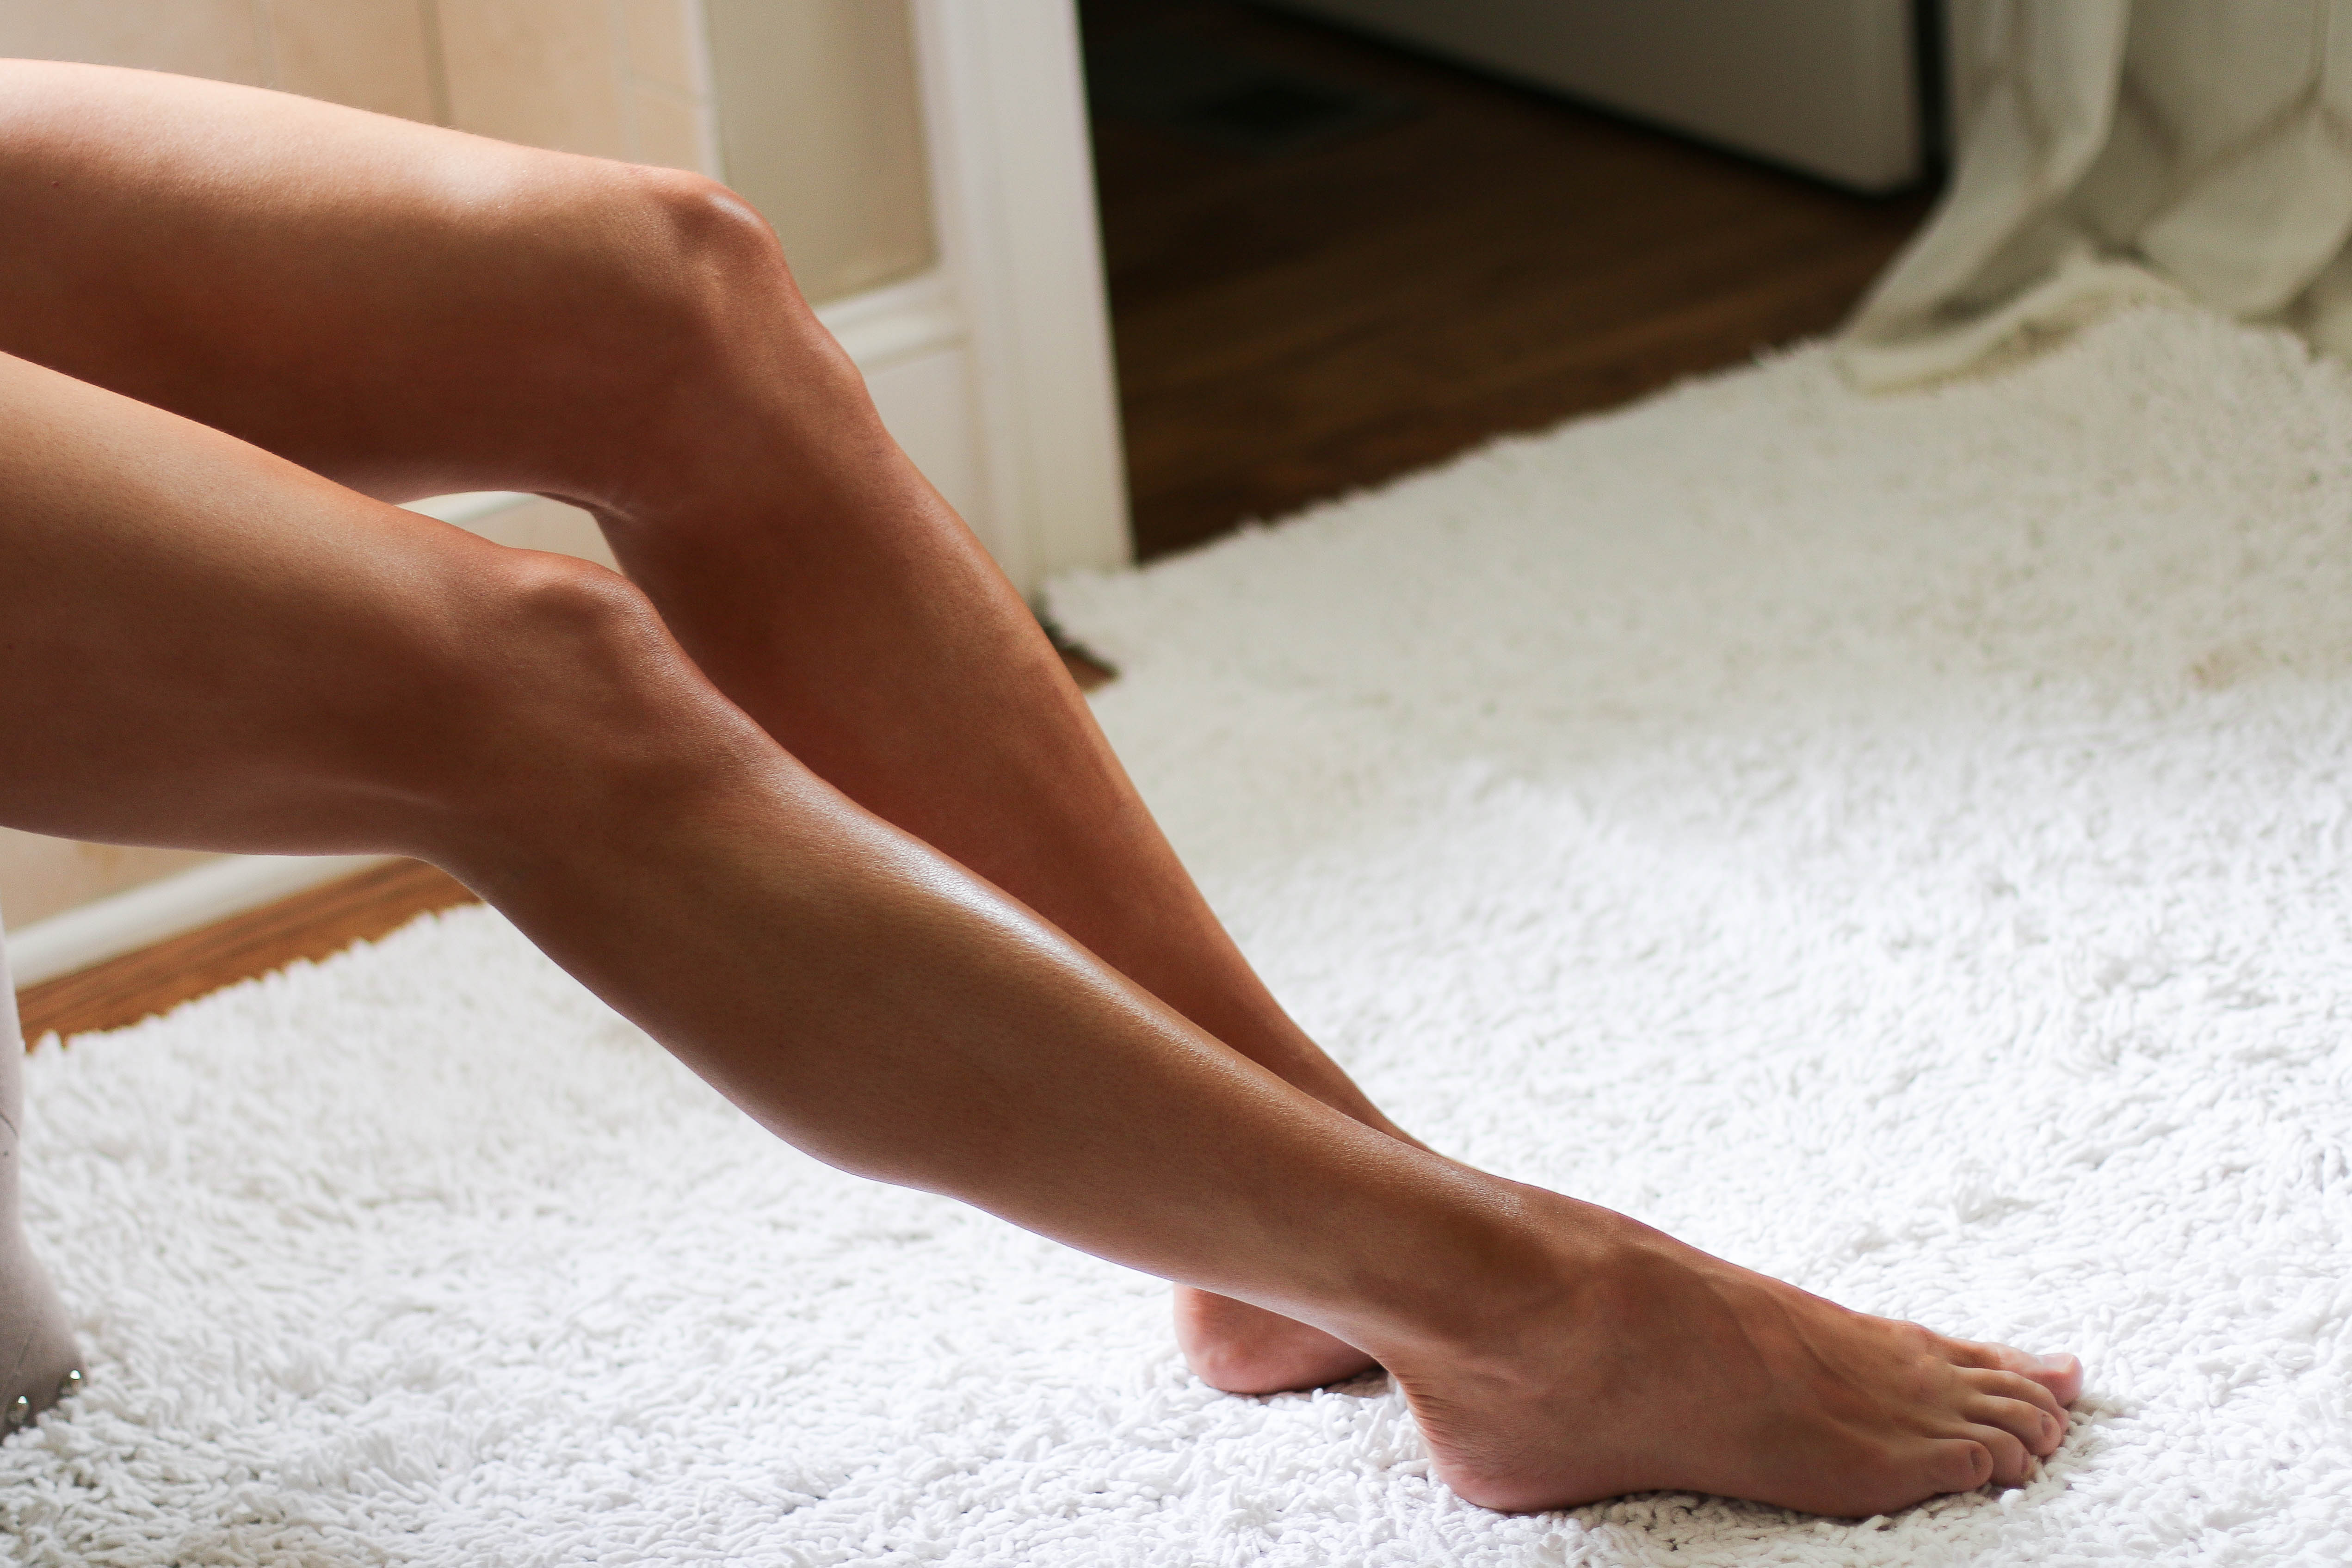
Now you get to enjoy your beautiful bronzed glow, as if you just walked off the beaches in the Caribbean! No one has to know you got that Tropical look inside the comfort of your own home… It’ll be our little secret! ;)
As always… love much, laugh often, fight off those smile and laugh lines with my beauty advice and look fabulous while doing it all! :) Love, Blair

